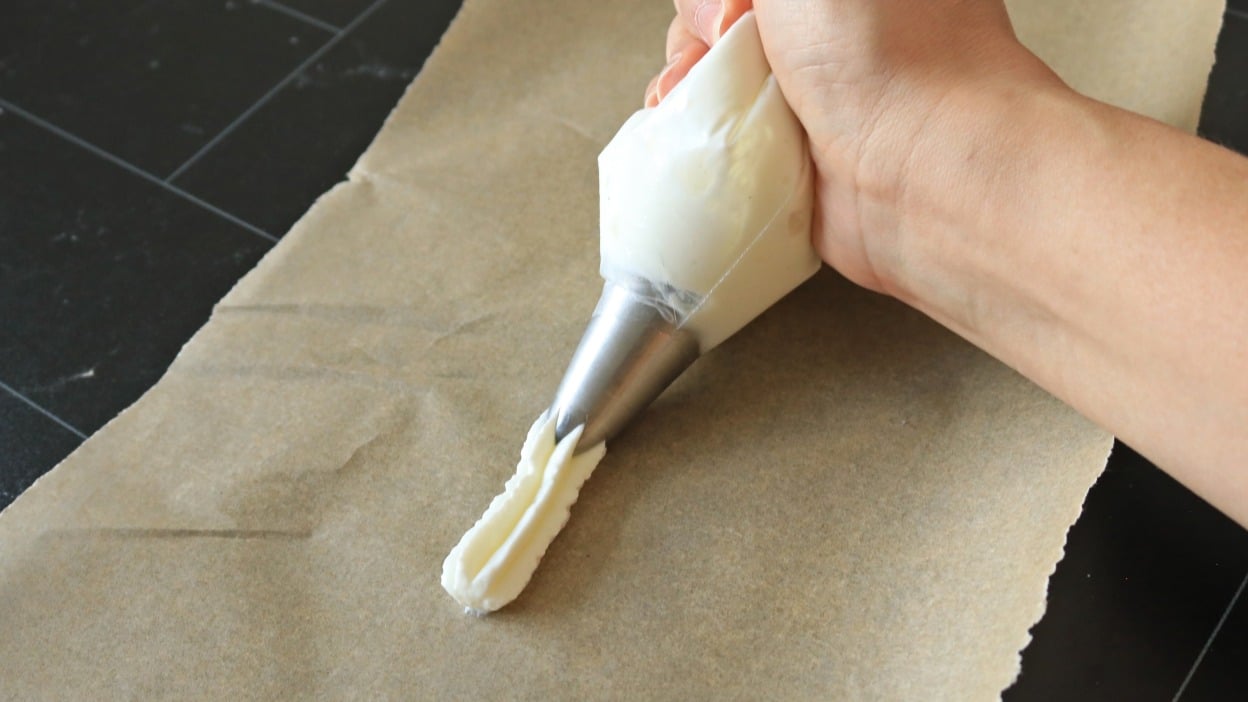
A piping bag isn’t something I’d categorize as a “normal” kitchen tool. Former chefs and pastry chefs will keep them in their home kitchen because the cheap, flexible, conical bag has proven its value time and again, but the average home cook doesn’t need one—that is, until they need one. I’m not here to convince you to buy something new that you’re not comfortable using (not today anyway). Besides, that won’t help if you need a piping bag at this very instant. Instead, just reach for the next best thing: a zip-top storage bag.
What is a piping bag?
Like I mentioned, a piping bag is a conical bag. They can be made from a piece of parchment paper, single-use plastic, or reusable coated cloth. They come in a variety of sizes—from the size of your hand to do precision designs and writing with chocolate, to the length of your arm for piping out quantities of dough. You can use a piping bag alone or in conjunction with a piping tip for making interesting designs and patterns.
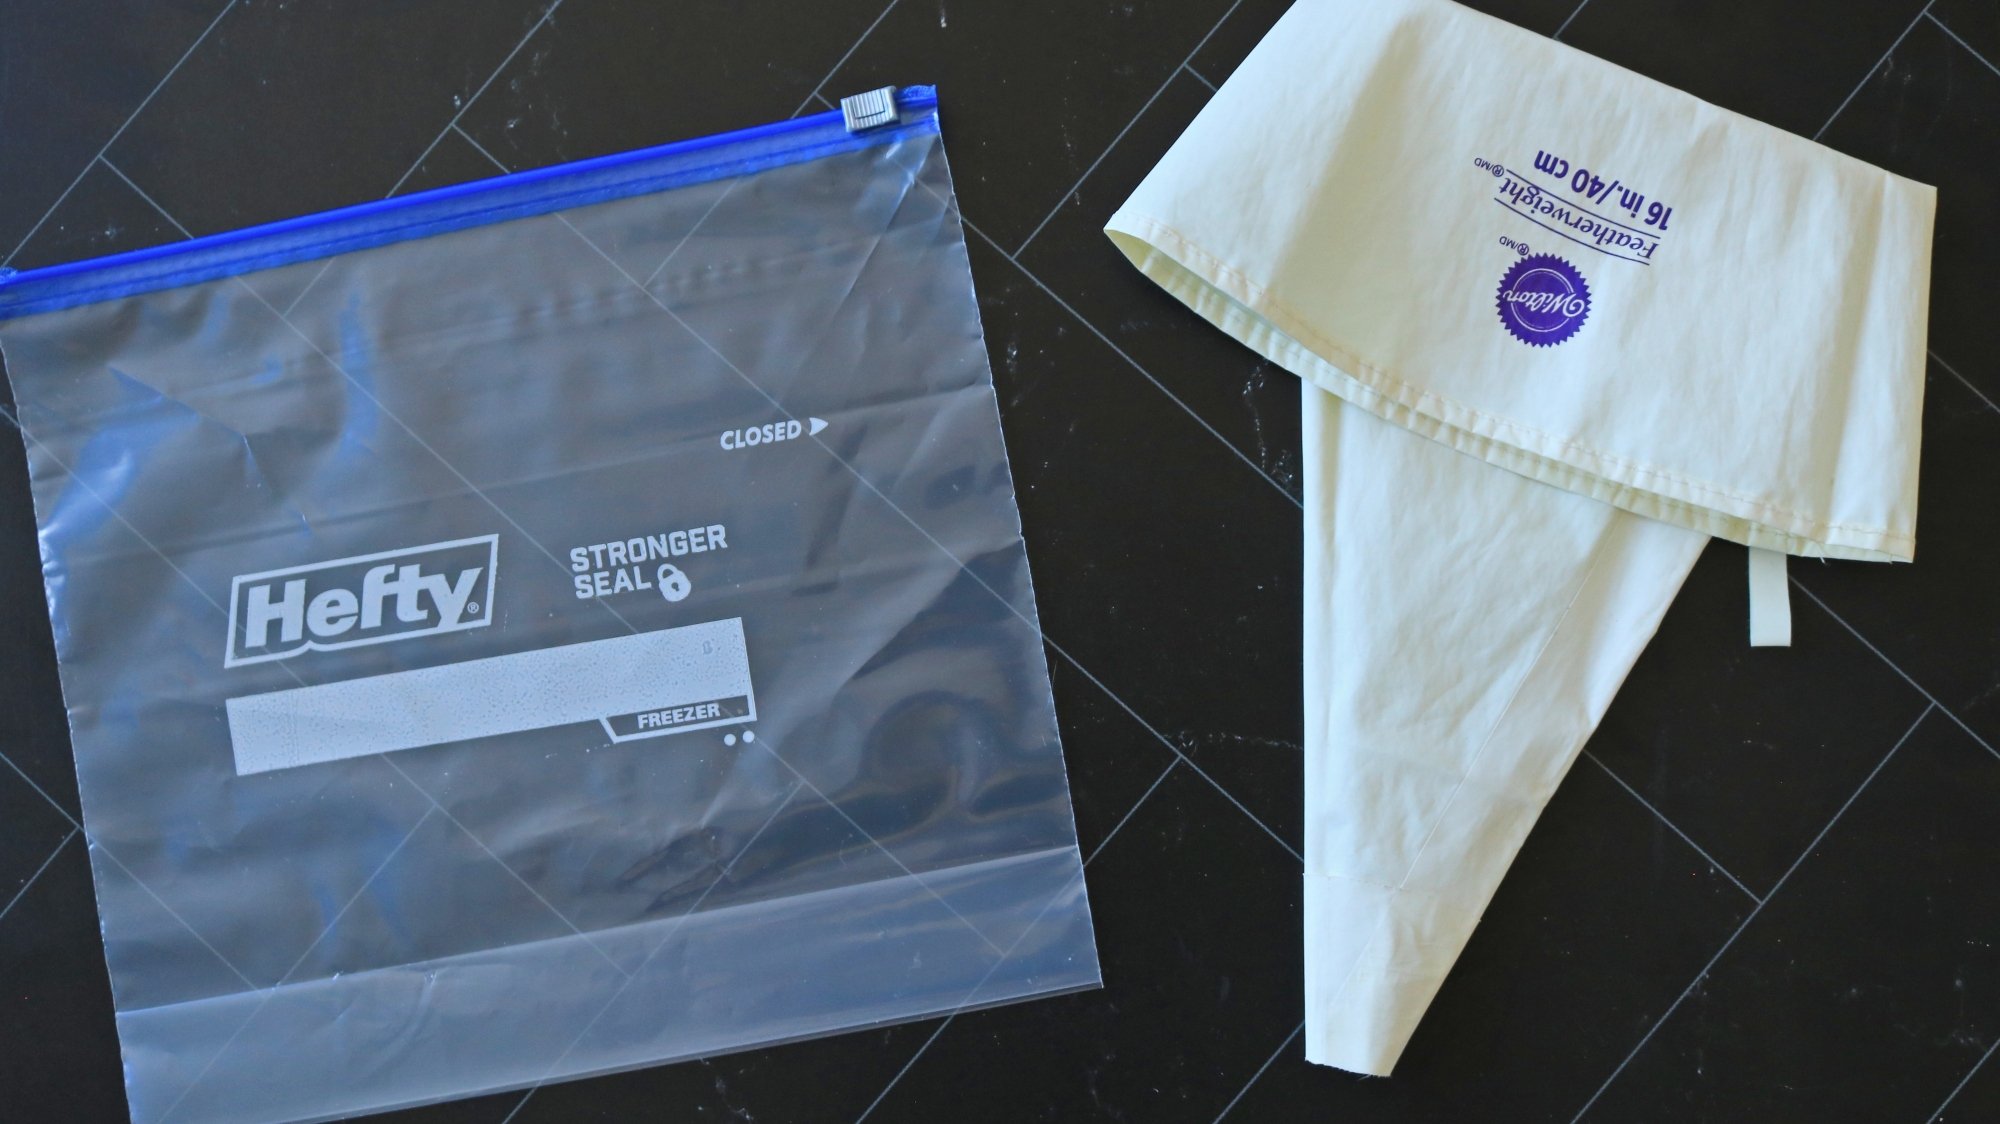
How to make a DIY piping bag
The important part of a piping bag is that the shape causes the filling to gather at one point—otherwise, it’s just a plastic bag. So you can use any plastic bag that has a corner to mimic the shape. The most accessible ones are probably the zip-top plastic sandwich bags and storage bags you have in your kitchen drawer.
If you’re not using a piping tip
1. Cuff the opening
Fold back the first inch or two of the opening of the zip-top bag. This helps hold the bag open and ensures you don’t get frosting or jam (or in my case, deviled egg filling) on the outside of the bag. That can make your grip slip, and of course, it’s just tidier this way.
2. Add your filling of choice
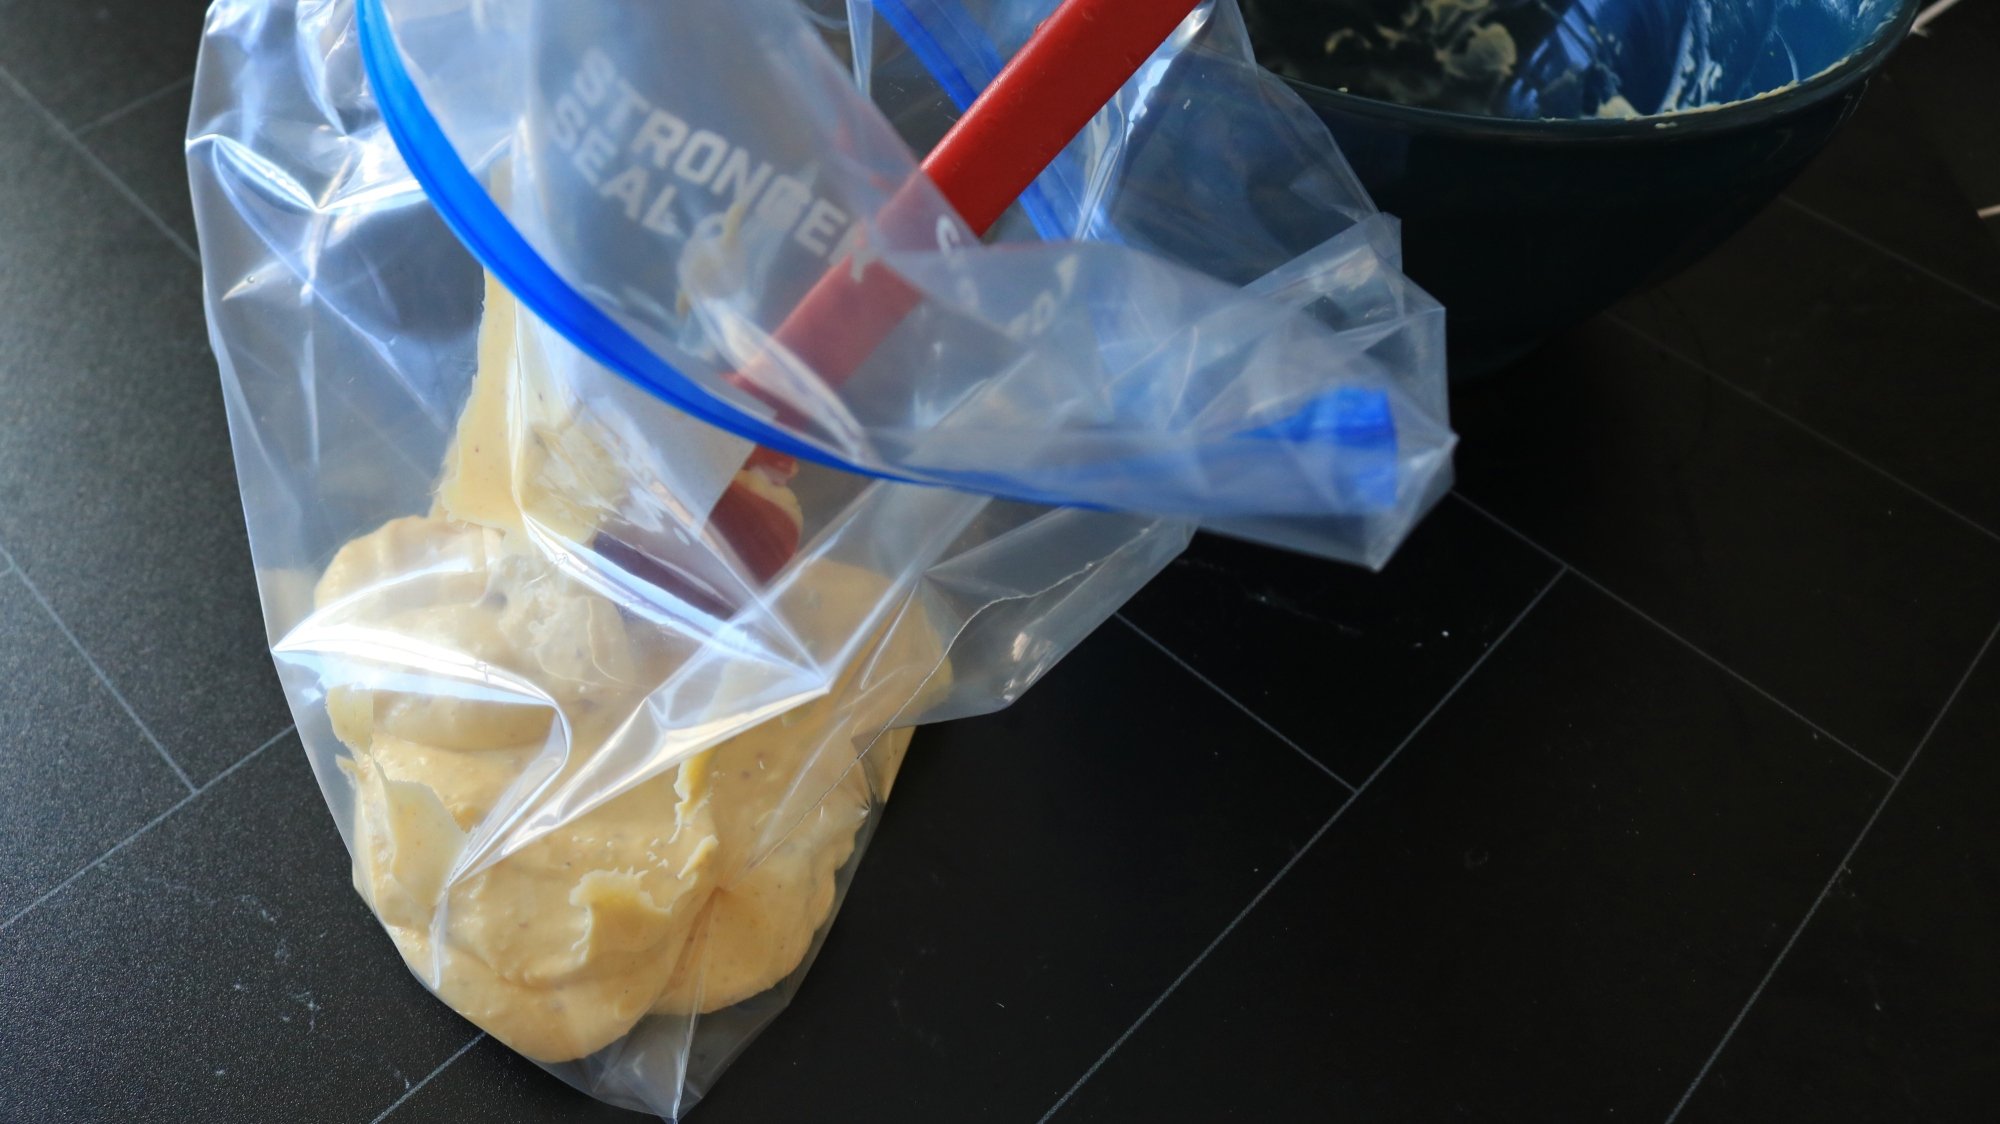
I usually have one of the two corners in mind. Load the bag closer to that side so you don’t have to push the filling around too much later.
3. Seal the top
Push out the air and twist the plastic above the filling. You don’t really need to zip up the top of the bag, but you can if you want to. The twisted plastic is what will keep the filling from creeping out the back. Hold the twist with your dominant hand.
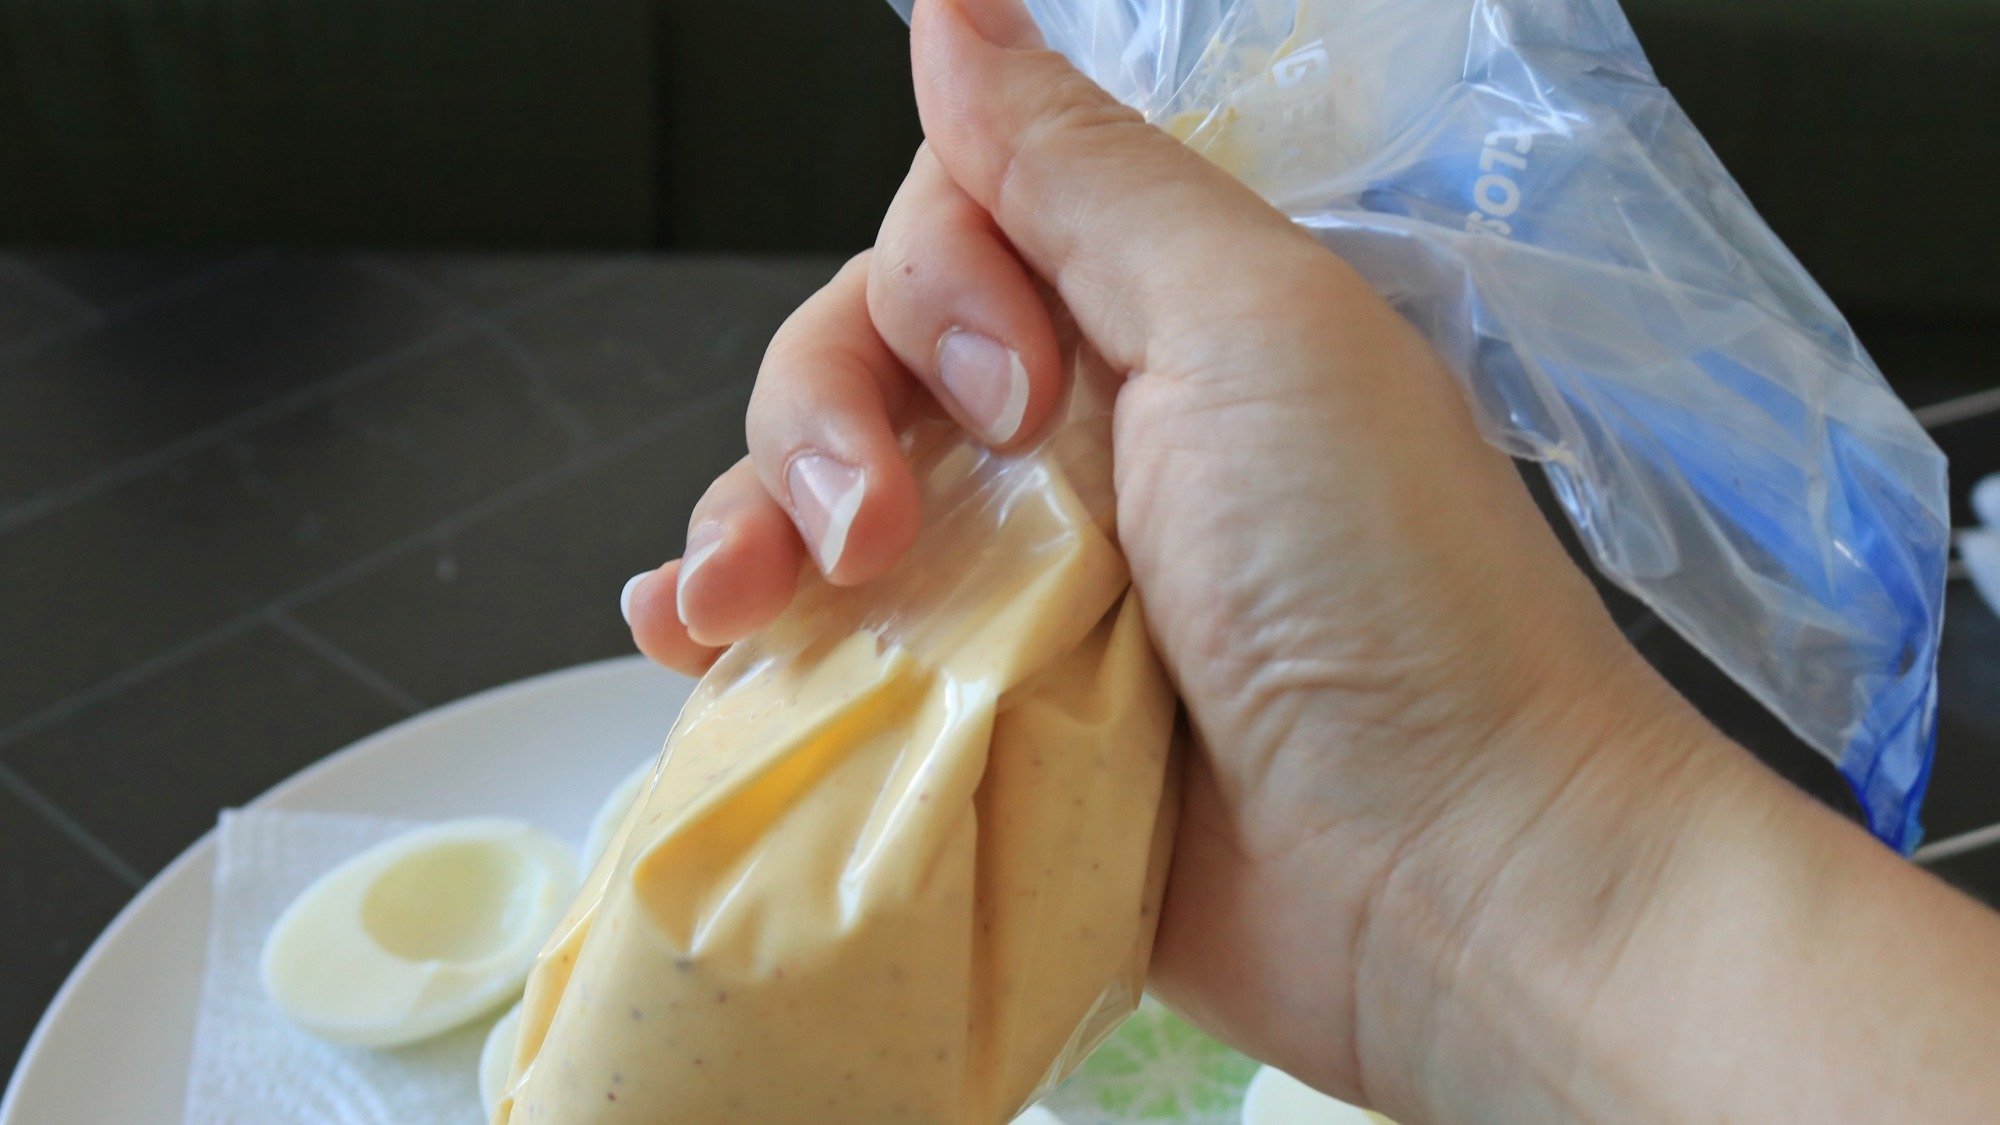
4. Snip the corner
When you’re ready to use the bag, use scissors to cut off the corner of the bag. Start small. A tiny plastic triangle should come off. Test out the piping bag by squeezing some of the filling out onto your cake or wherever you plan on using it. If it’s too small, you can always cut off more, but you can’t make the hole smaller. Your piping bag is ready to use.
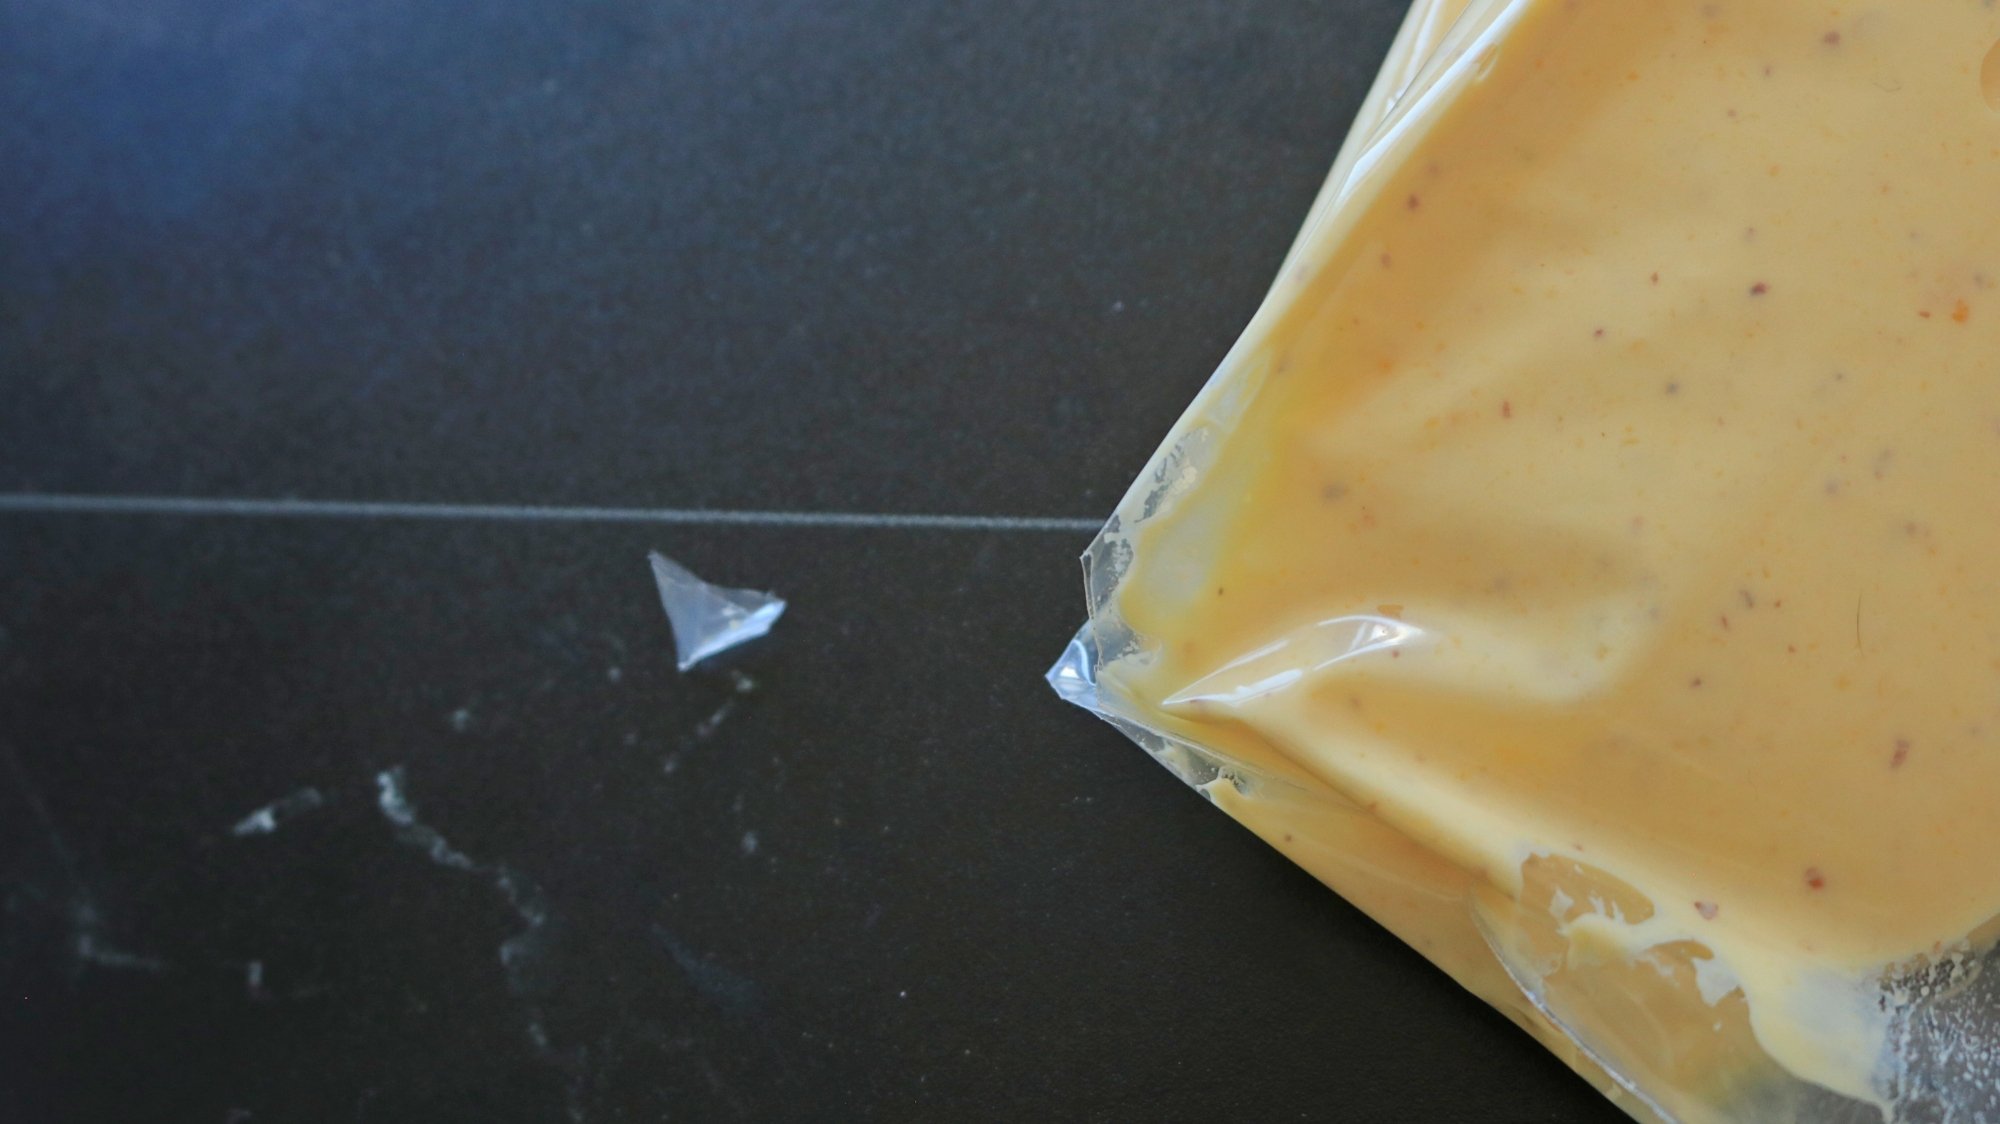
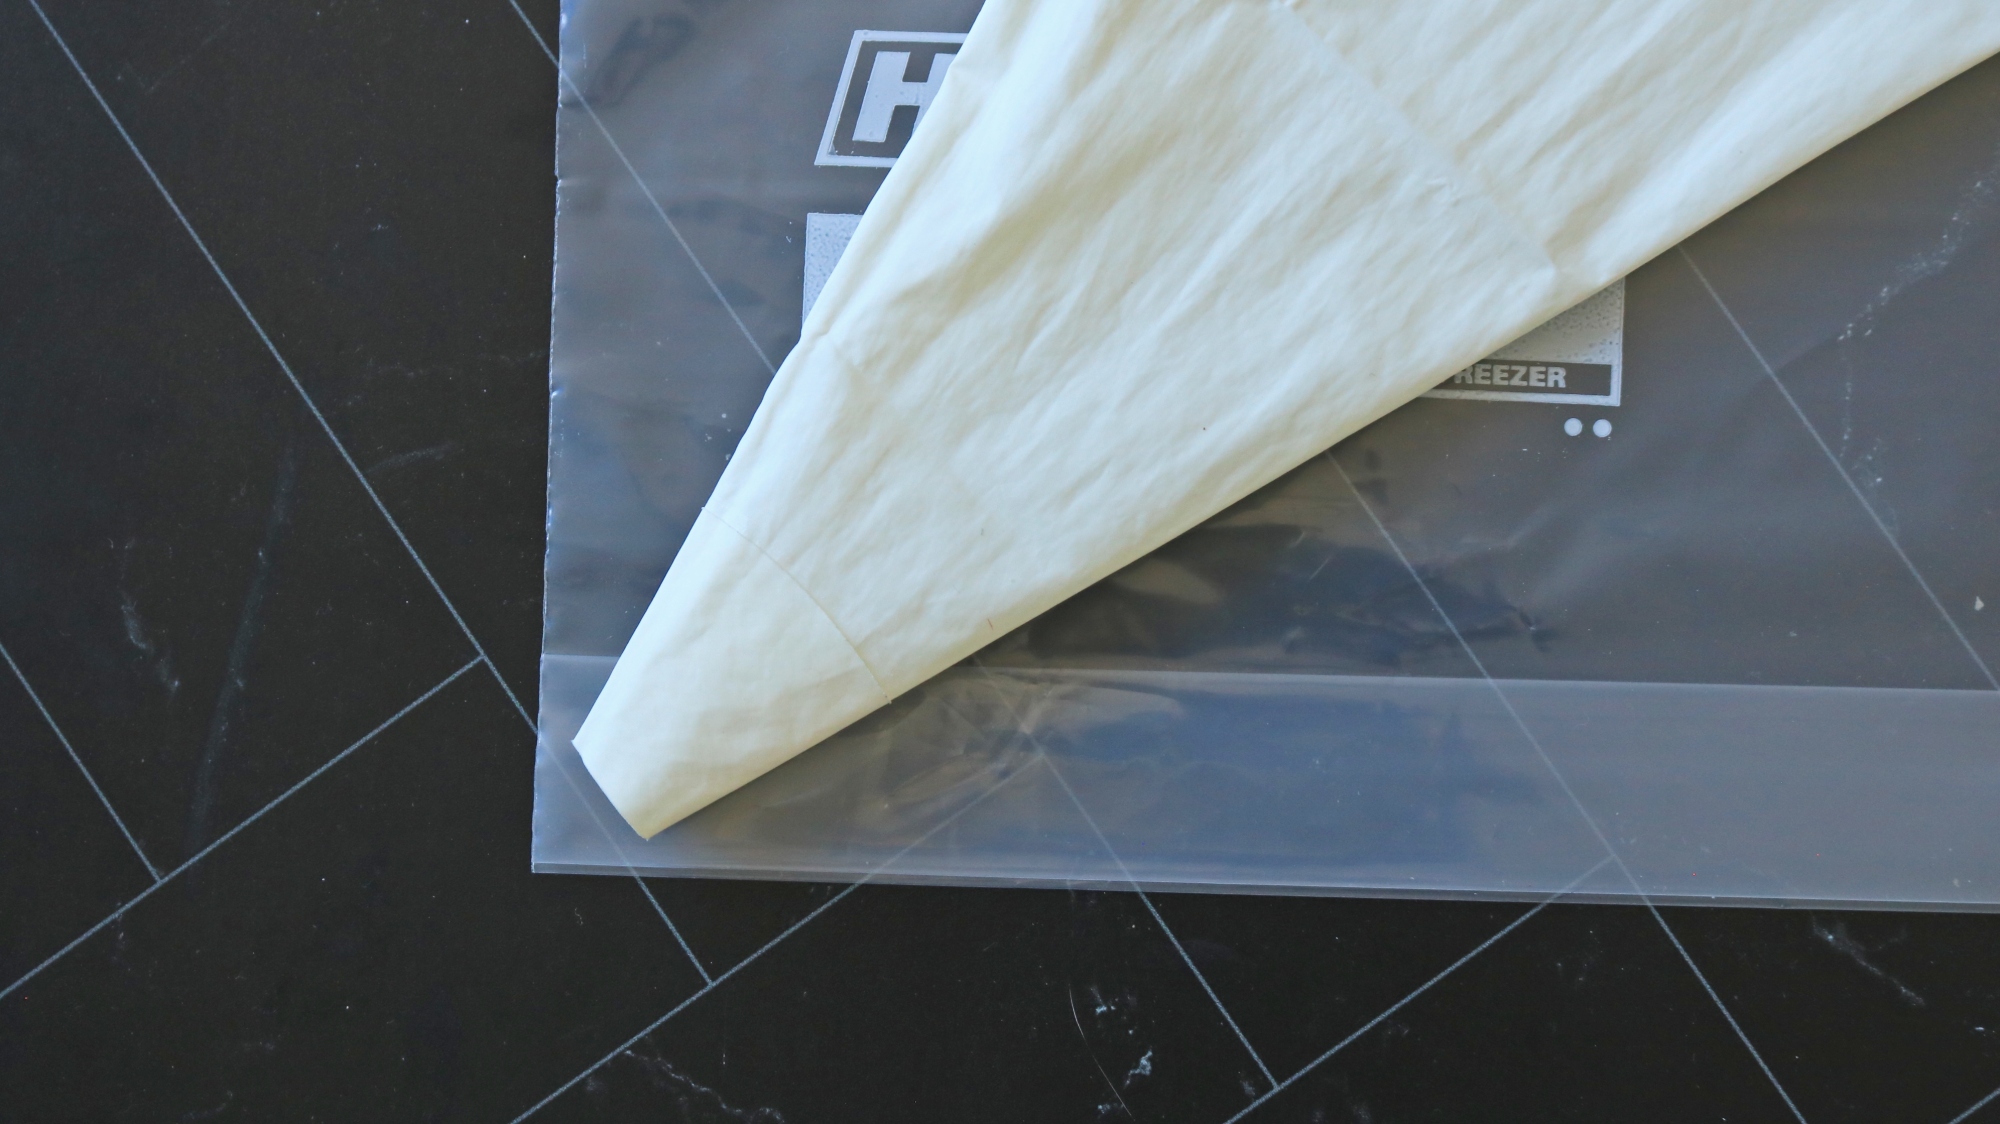
Note that you should be wary if your zip-top bag has a "foot." Meaning the bottom side is pleated to open up so the bag can stand up. My freezer bag has this in the pictures above. The problem is that the corner isn't just one simple seam, so snipping it will actually cause two openings, or one giant opening if you snip the corner too big. While this is fine for filling my deviled eggs (it actually made a fun pattern) or tasks that don't require much precision, these types of bags will give you trouble for fitting a piping tip or doing decoration work.
If you are using a piping tip
This is completely optional: there's no shame in having a plain round opening. That said, piping tips can be useful for designs or to add structure to the end of the bag if you're stuffing something like doughnuts or cream puffs. Make sure your plastic storage bag has a simple single-seam design and does not have a "foot" (for the reasons above). You can compare the corner of the bag I used in the pictures above to the design of the one I use in the pictures below.
1. Cuff the opening
Fold the top inch or two of the plastic bag outward to cuff the bag. This will keep any filling from getting on the outside of the bag.
2. Add the piping tip
If you’re using a piping tip, you should put it into the bag now and push it into one of the corners. Don’t make it fit too snug, but take notice of where the opening design of the tip stops. You’ll make the cut there.
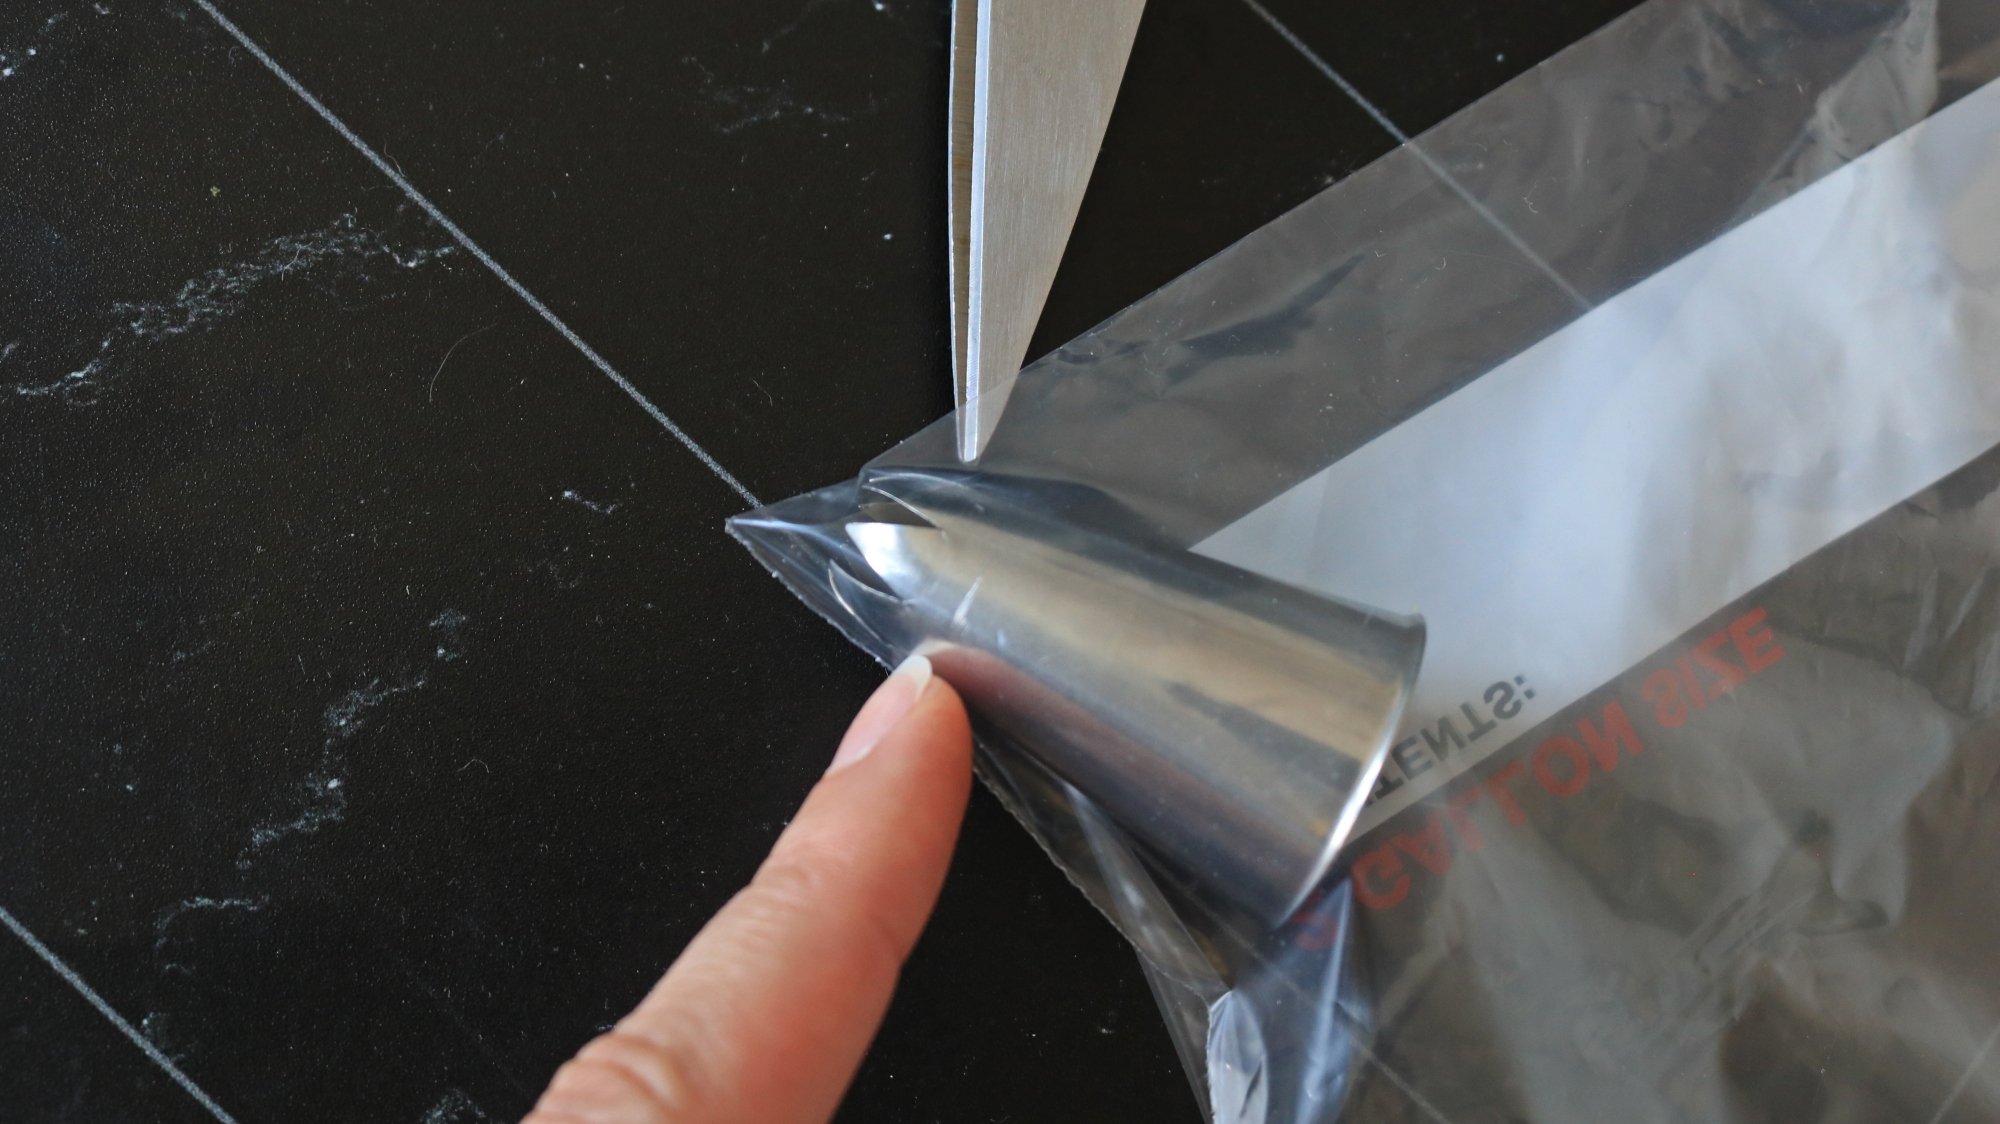
3. Snip the bag
You want the whole design of the piping tip to be exposed, so once you see where that is, push the piping tip away from the corner of the bag. Use sharp scissors to snip the corner off at that spot. Push the tip snuggly into the corner so you can see if the design is cut off or not. If it is cut off, cut a sliver more from the opening. Cut a little at a time. If you cut too much, the piping tip will pop out.
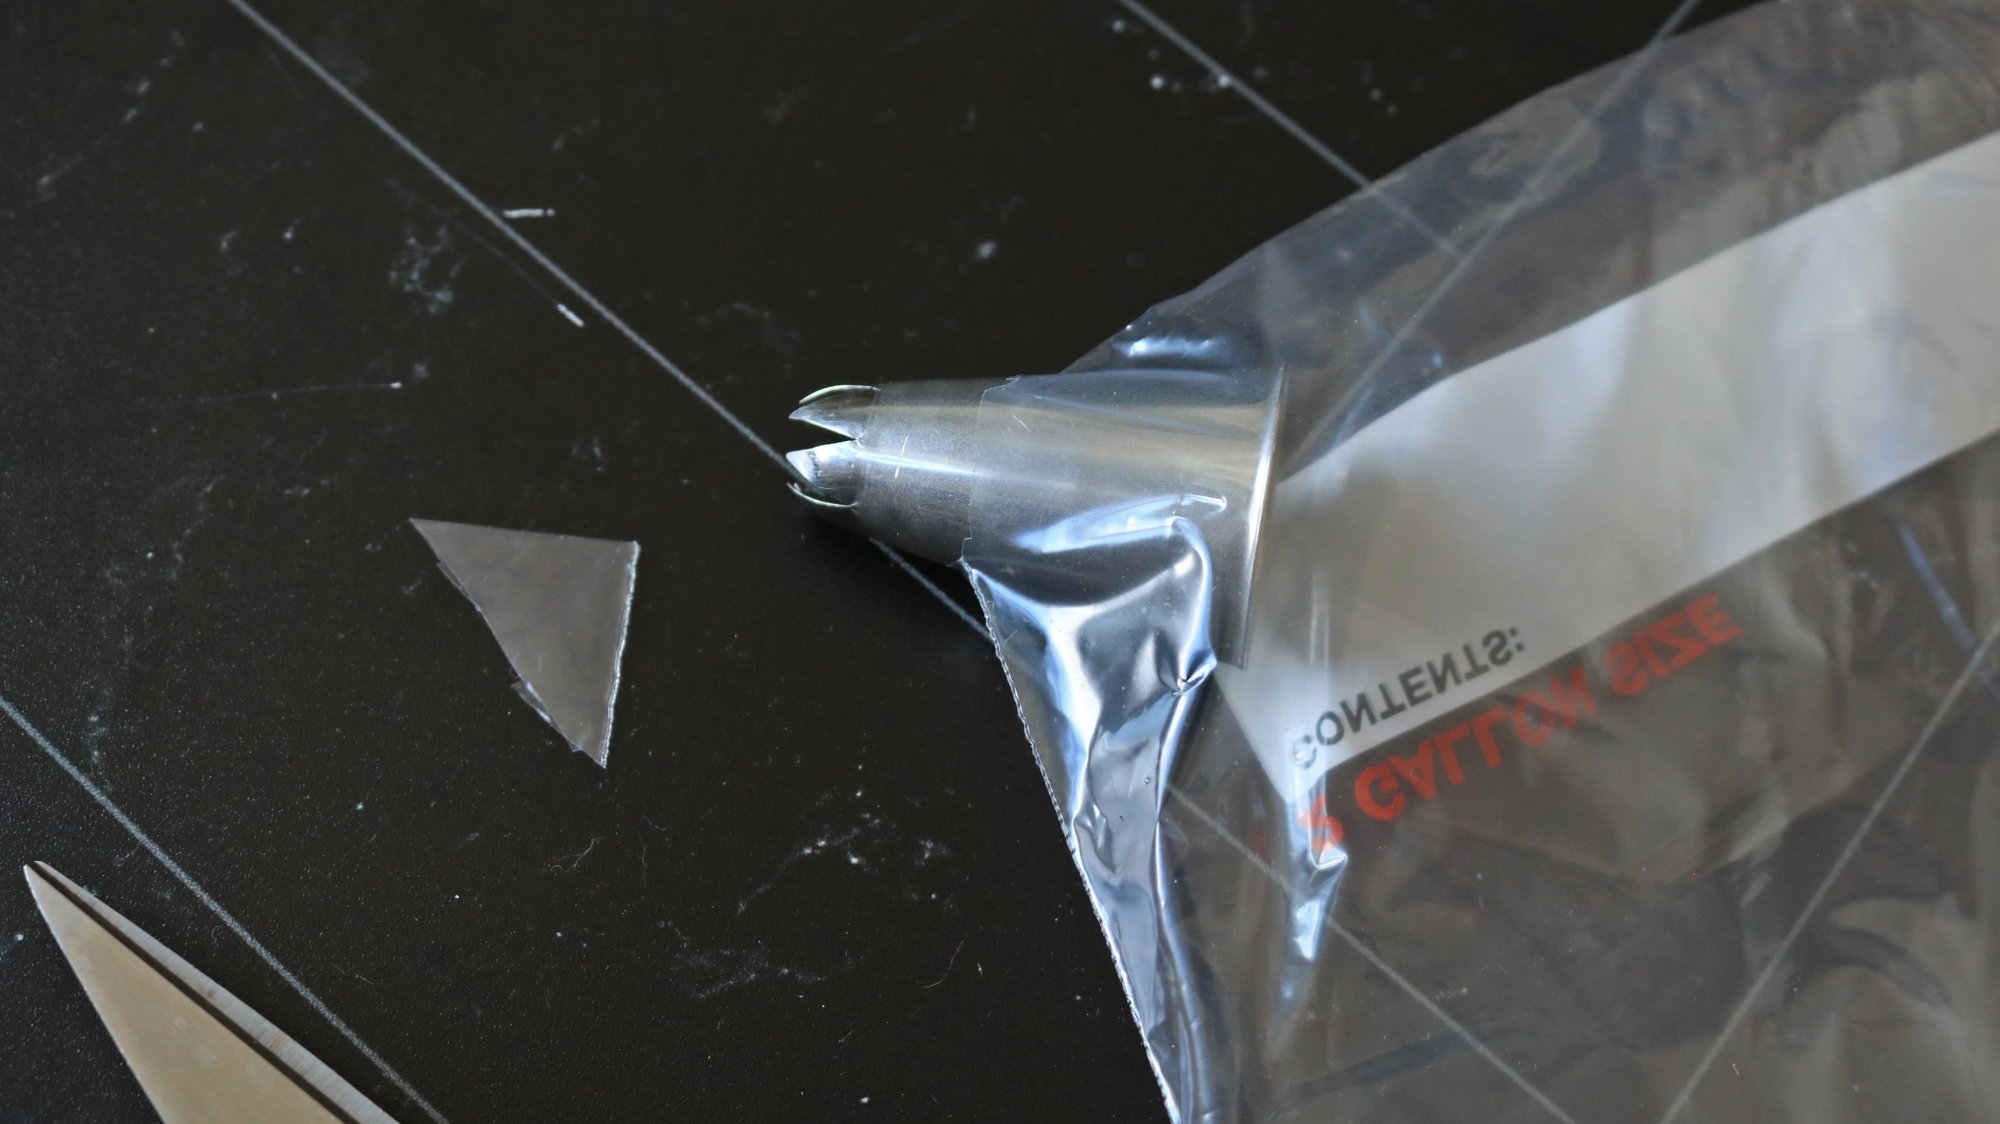
4. Add the filling
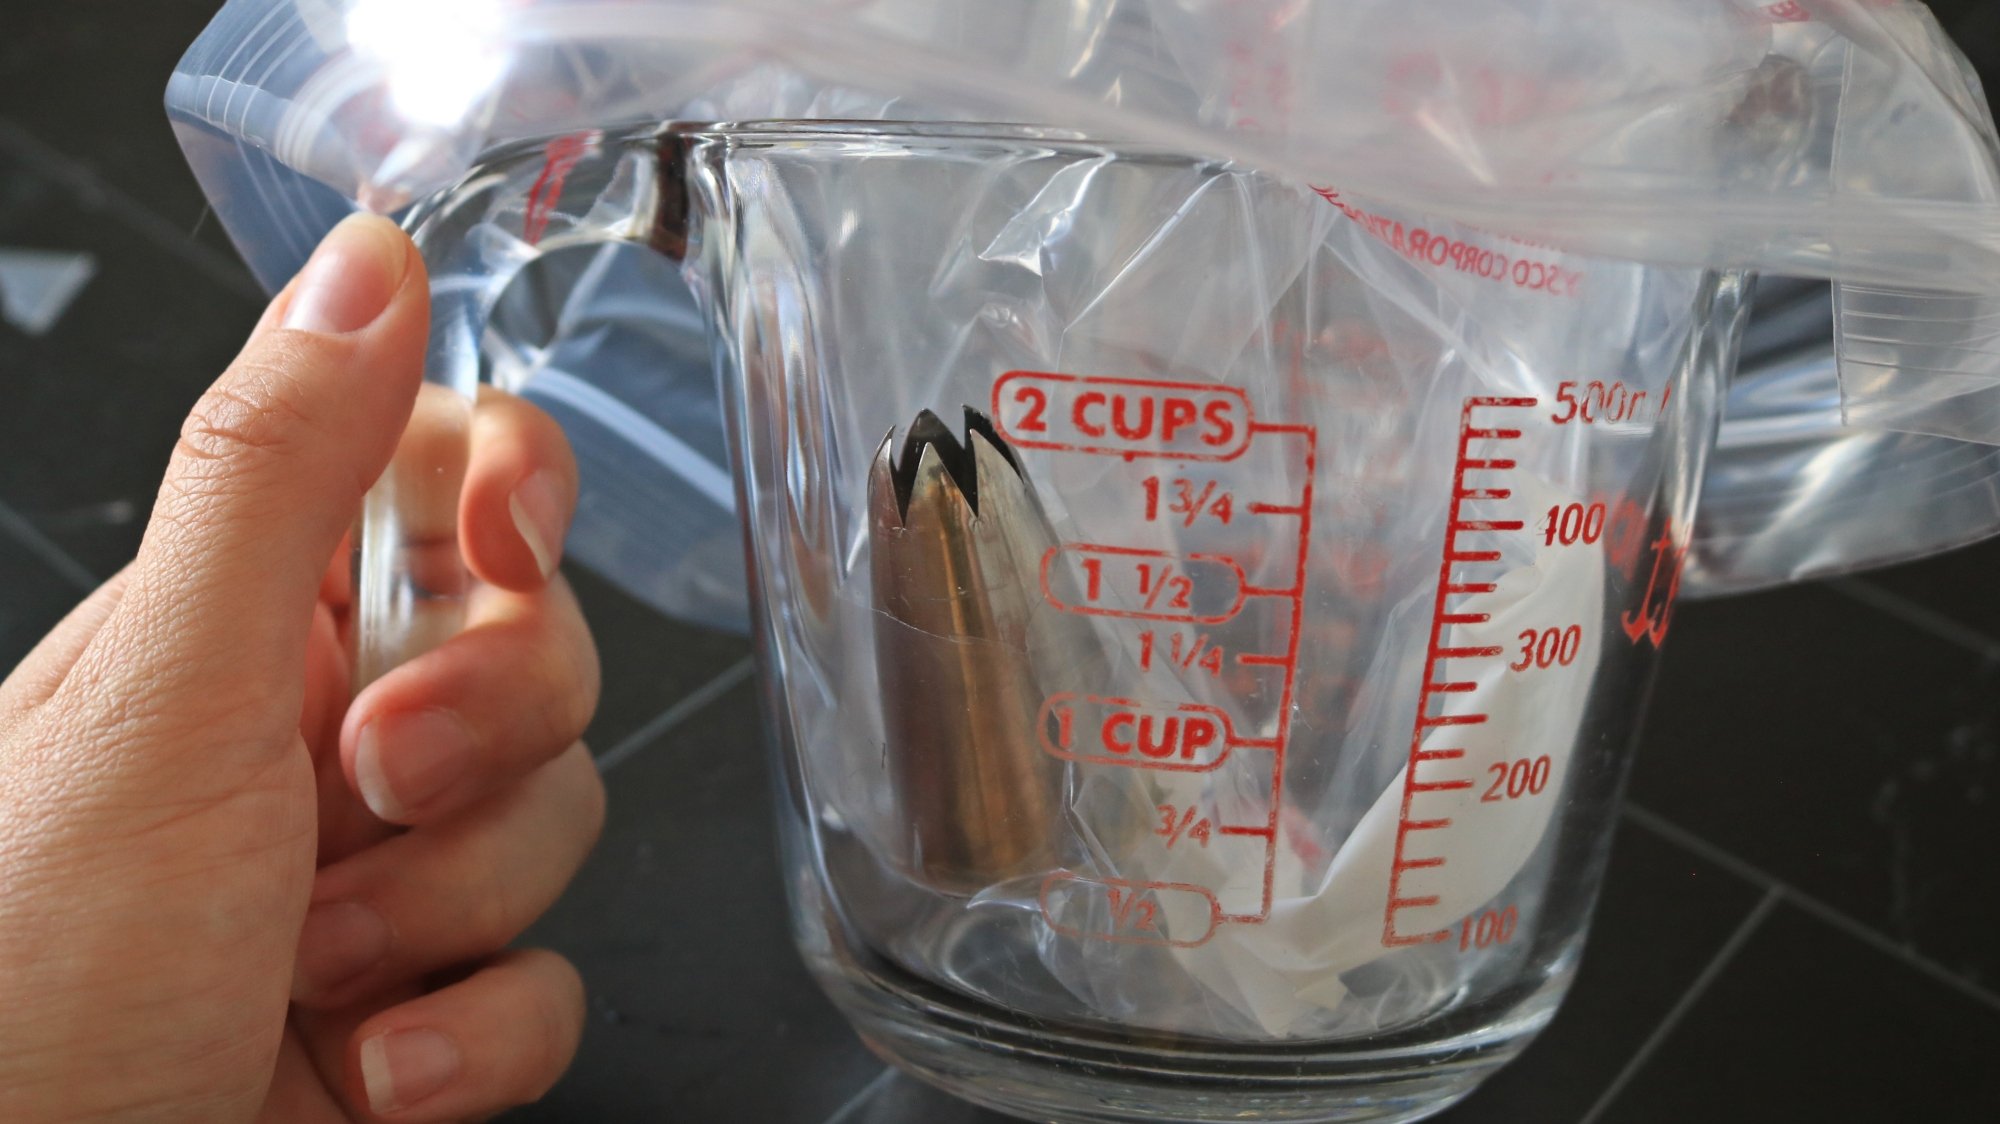
Fold the tip of the bag pack so the filling doesn’t come out while you load up the bag. Put the bag into a measuring cup or a pint glass to keep the piping tip folded back, and so you can easily load the bag. Add your filling and twist the top of the bag shut. Your piping bag is read to use.
When do you use a piping bag?
Piping bags can help you do a number of cooking tasks faster, with more simplicity, and less cleanup. You can use your piping bag to decorate cookies and cakes with frosting. Fill the bag with cookie dough and pipe out six dozen butter cookies. Fill homemade doughnuts with jam. Pipe out the filling for twice-baked potatoes or deviled eggs. Fill dumpling skins with your famous pork mixture. Anytime you need to stuff something, or scoop or add a filling with a tiny spoon is a good time to consider making your own piping bag.
